


My husband and I recently purchased a 2013 Skyline Nomad. We decided to name her Norma since we were watching a lot of Bates Motel and “Norma the Nomad” seemed pretty fitting. Everything inside was like new (except the rotted out wall in the back that we weren’t aware of) and my husband didn’t want to change anything. I on the other hand saw it as something to decorate and update :). The “50 Shades of Brown” look isn’t really my thing so he begrudgingly went along with my re-decorating. The first thing we did was rip down the corrugated wall to discover the extensive water damage (yikes). Then we had that repaired, placed down the small amount of vinyl flooring that we needed in the bathroom and started painting. I guess technically we painted the bathroom, then put down the flooring, then painted the rest of the camper but you get the picture.


Here’s the before and after and yes, that is carpet in the first picture (eww!). I had a hard time deciding paint colors. I went with a light gray and at first it looked white. I had to go back and get the color adjusted. I used a primer first and then used a paint with primer in it to make double sure my paint wasn’t going anywhere (there were a lot of complaints about paint not sticking properly on the RV interiors Facebook group I was following).
Here’s the bathroom all finished with a shower curtain (from TJ Maxx) and wall shelf (from Hobby Lobby). Here’s a link to the vinyl planks I used if you want to check them out: http://amzn.to/2xpxm0L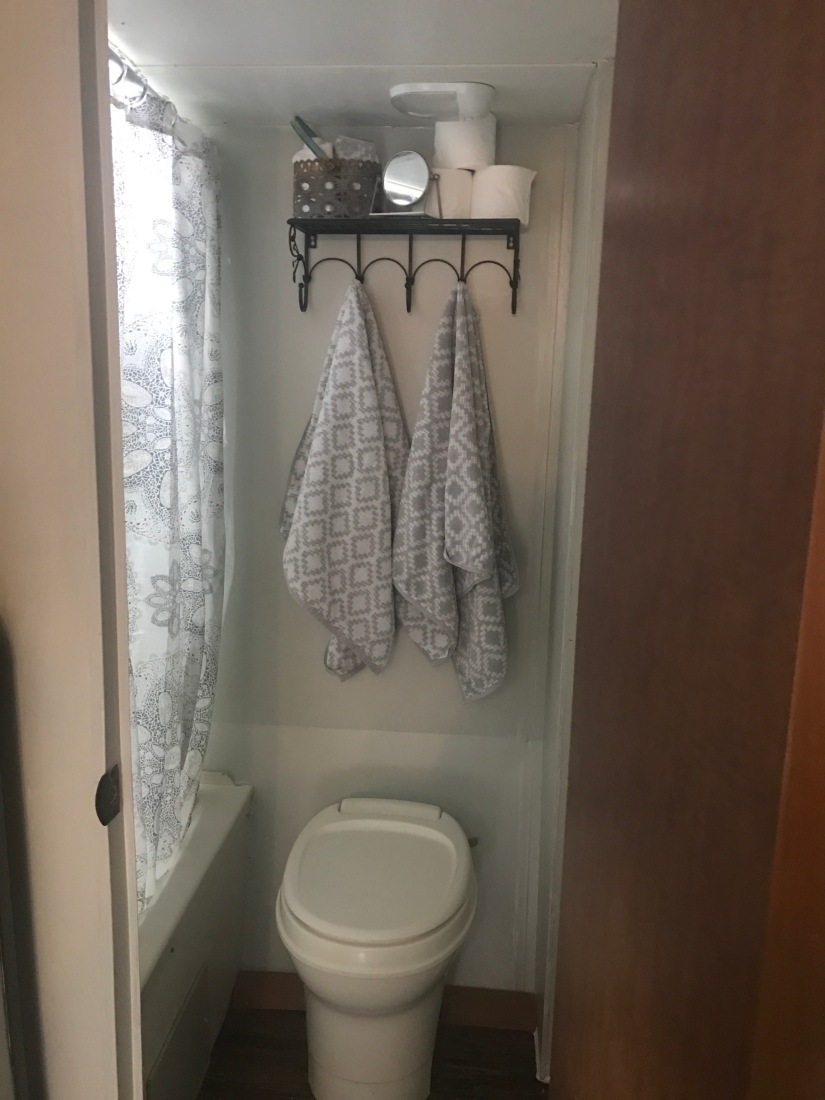
Next, I bought some table cloths from Walmart and recovered the cushions with them (I used fabric glue because I may be good at a few things but sewing isn’t one of them). Then I used granite film I bought off Amazon to cover the table. I think it brightened it up a lot, don’t you?


I also bought inexpensive foam mattresses for the 3 beds (for the bunks I bought a queen and cut it in half with an electric knife, it was much cheaper than buying 2!). Then new bedding for the big bed and a few rugs and little decor items. This is the mattress I bought, it actually sleeps really well: http://amzn.to/2gLzooL


I bought a new faucet that my sweet husband installed for me. I initially bought one that didn’t fit from Walmart (oops!). I ordered this one from Amazon and it’s held up pretty well so far. I love how it instantly updated the small “kitchen” area! Sorry it’s different angles but I had this picture on hand already. Find this faucet here: http://amzn.to/2gFtcv3


I also painted our little refrigerator with black chalkboard paint to break up all the brown. Here’s a before and after view of the camper looking from the front to the back. Although I don’t “hate” the flooring, I think adding these cute little rugs breaks up all the brown.


We took Norma to a campground near Columbus, Georgia for her maiden voyage. It was an adjustment to figure out how to make everything work and how to find a comfortable temperature between freezing with the A/C on full blast and sweltering when it wasn’t up high enough but it was lots of fun! Here’s a picture of the outside. I loved the little string lights! They are plastic and made for outdoor use. Get them here: http://amzn.to/2y7o51M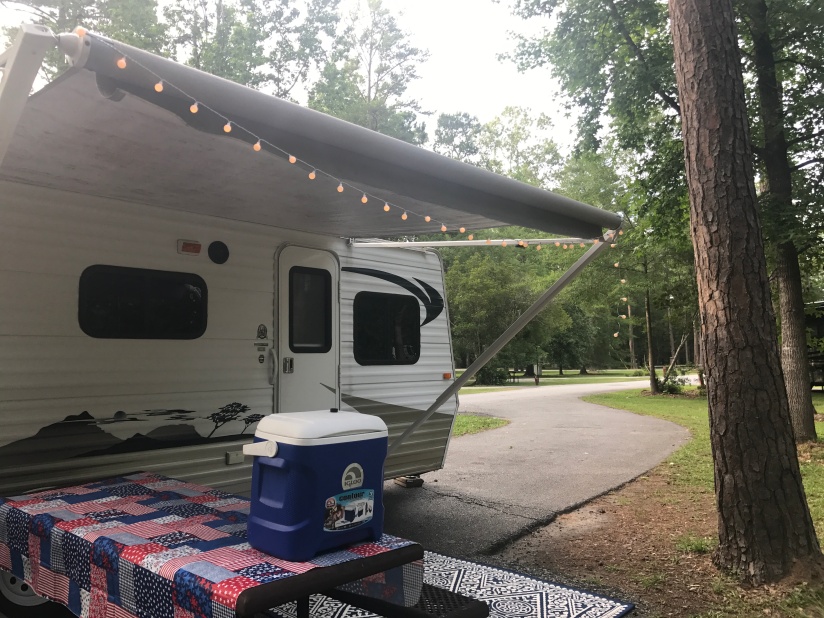
*Disclaimer* I do get a teeny tiny commission if you buy something from Amazon through a link on my site, but these are tried and tested products approved by me. I would not recommend anything that I don’t personally love, although I can’t be held responsible if you don’t love it too Lol. If you need a little something extra to throw in your cart to get free shipping, I also love these nesting bowls: http://amzn.to/2iacMfn.
Thanks for checking out my camper makeover! Ya’ll let me know if there’s anything camper/ RV related you want me to talk about, maybe a packing list, essentials you should buy to stock or something similar? If you liked this, please take a sec to subscribe to my blog or check me out on my other Facebook, Instagram and Twitter


